Luke Combs Tribute | Like Combs | Legacy Hall
Just for men Control Grey-Reducing Shampoo 118ml | Nahdi

Best combs for 4c natural hair👍👍🇺🇬🇺🇬🇺🇬🇺🇬#shorts - YouTube

Best Combs Every Guy Needs! #menshairstyles #menshair #haircut # ...

Light Blonde Straight Lace Front Synthetic Wig Ines

Hair Brush Men's Grooming Anti-static Steel Comb Man for Parting Combs ...

2 Pcs Wide Toothed Wood Comb Baby Man Hair Styling Combs for Women | eBay

Lush Vibes | Stereofox Music Blog

"Lily" - pre-order (processing time does apply) Length: 18" Layered ...

Parting Glances image

Just for men Control Grey-Reducing Shampoo 118ml | Nahdi
Rat Tail Combs Parting Comb: 3Pcs Rat Tail Comb Set, Long Purple|Black ...

Edge Brush Slick Back Hair Brush Rat Tail Comb Set for Parting Hair ...

Hair fall अब नहीं //कौन सी wooden comb लें// Top 5 affordable wooden ...

Thank you holly_marie.combs for the amazing autograph at ...

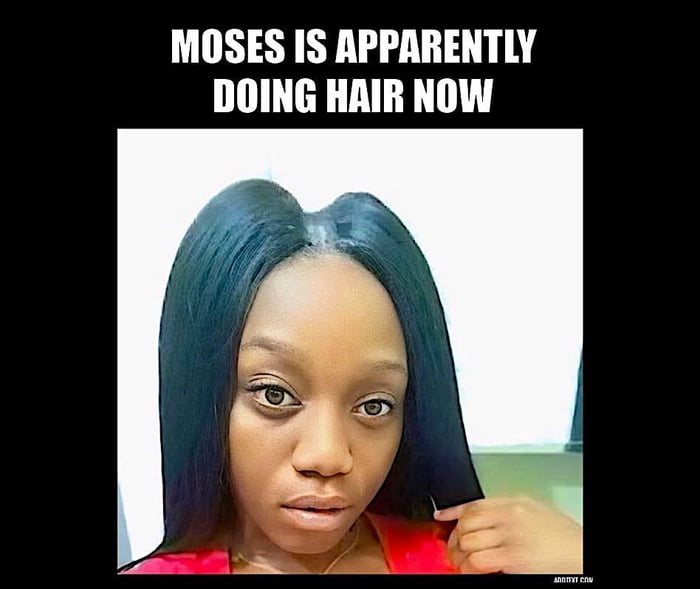
Parting Ways and Waves - 9GAG
Luke Combs Tribute | Like Combs | Legacy Hall
